
Gray Box Environment
The Beginning
Every 3D-game level once started as a "Graybox" prototype where its general layouts are outlined by the developers. Creating Graybox instead of detailed levels consume less time and effort, allowing developers to conduct tests and collaborations earlier on in a project. Thus, Graybox environment prototyping is an essential tool that all developers should utilize.
The Project
The first project of CGT245, named "Gray Box Environment", required students to find a preferred house plan and construct a Graybox level that resembles it. I chose a medium sized, two floor, four beds by four baths farmhouse plan without a garage for this project that offers a decent amount of details without being overly complex.

Floor plan image credit: houseplans.com.
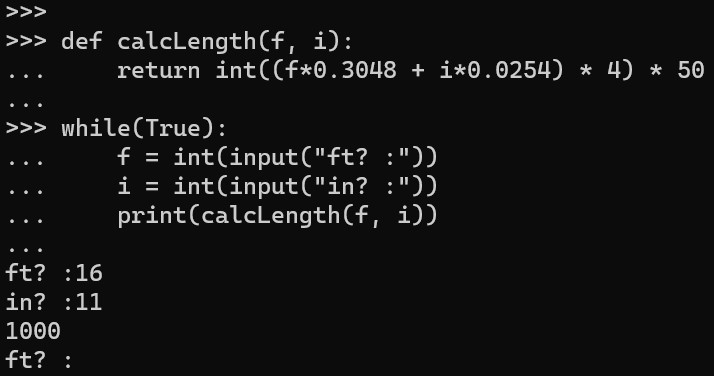
Yes I did script the process
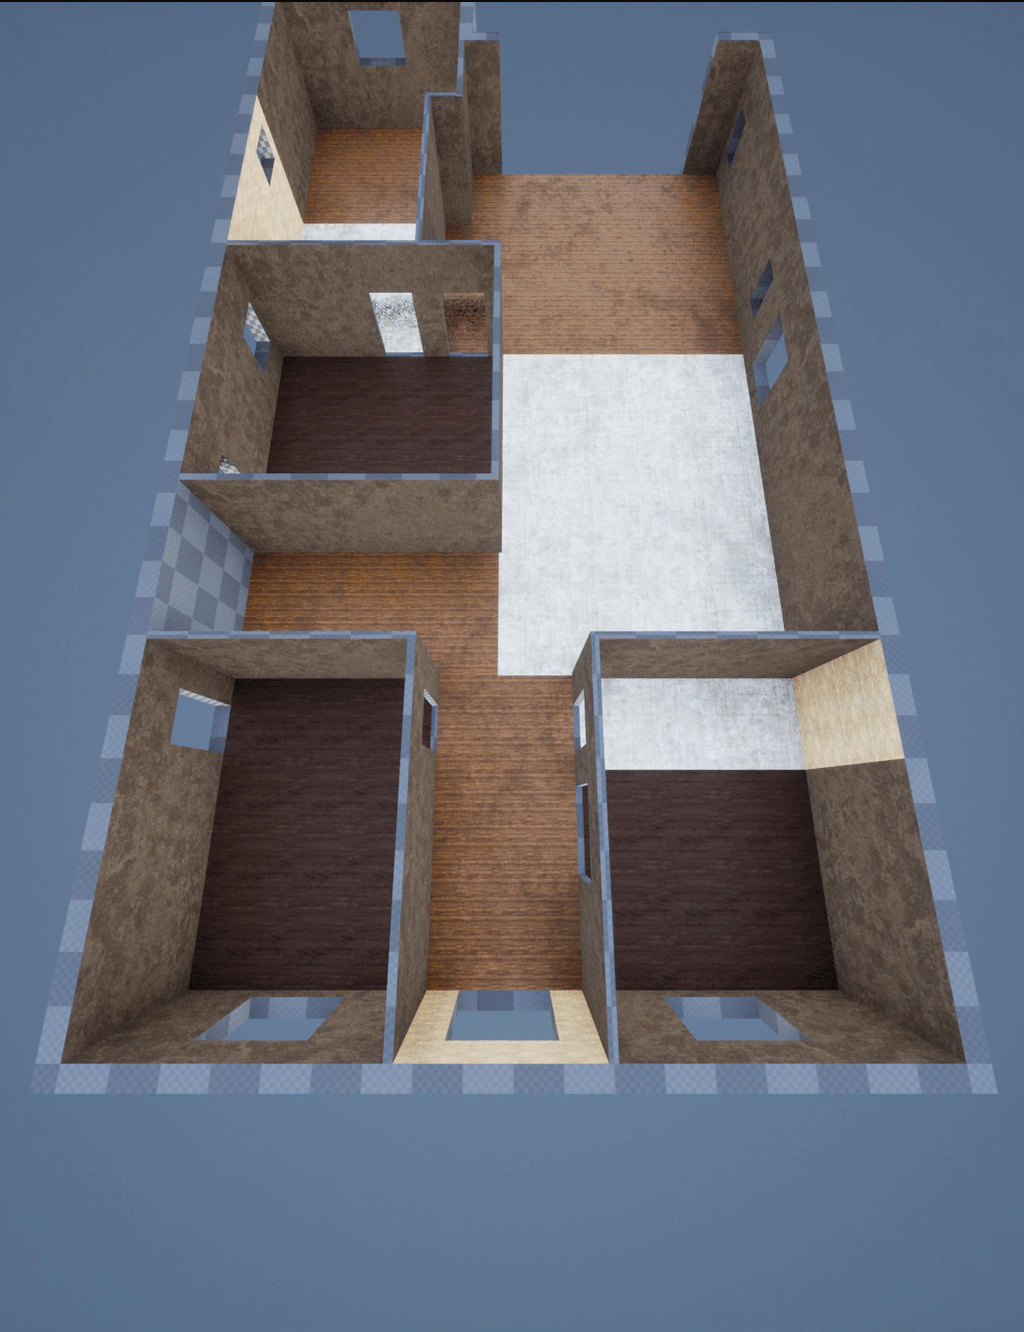
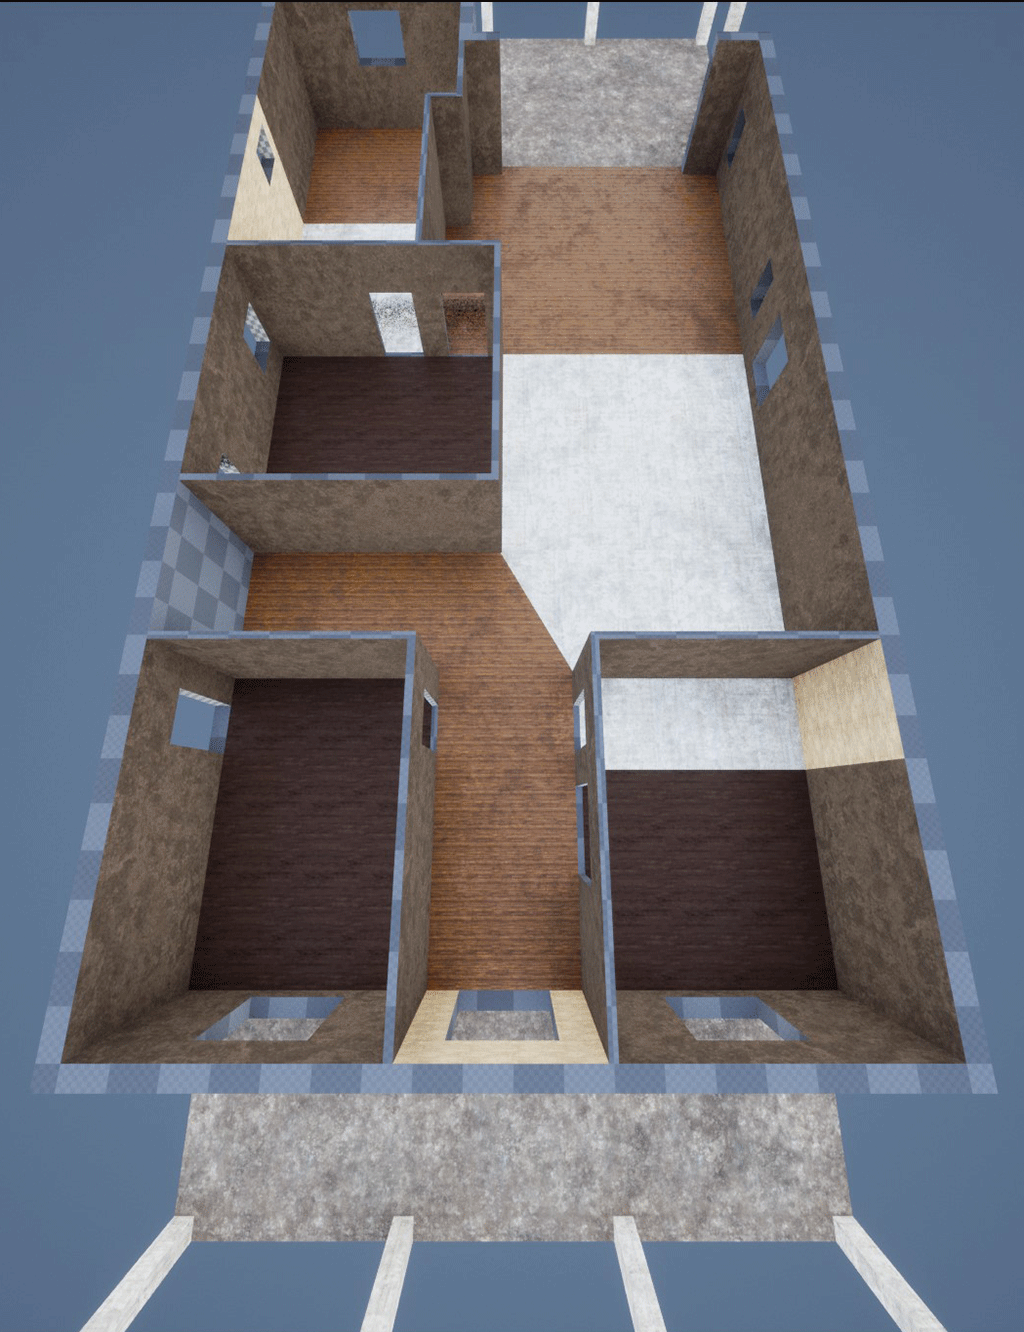
As preparation before Grayboxing, I converted the measurements marked as feet and inches in the floorplan into in-game length units with a scale of approximately 200 units per meter. Additionally, every primary wall length is rounded down to the nearest 50, aligning everything to the 50-grid.
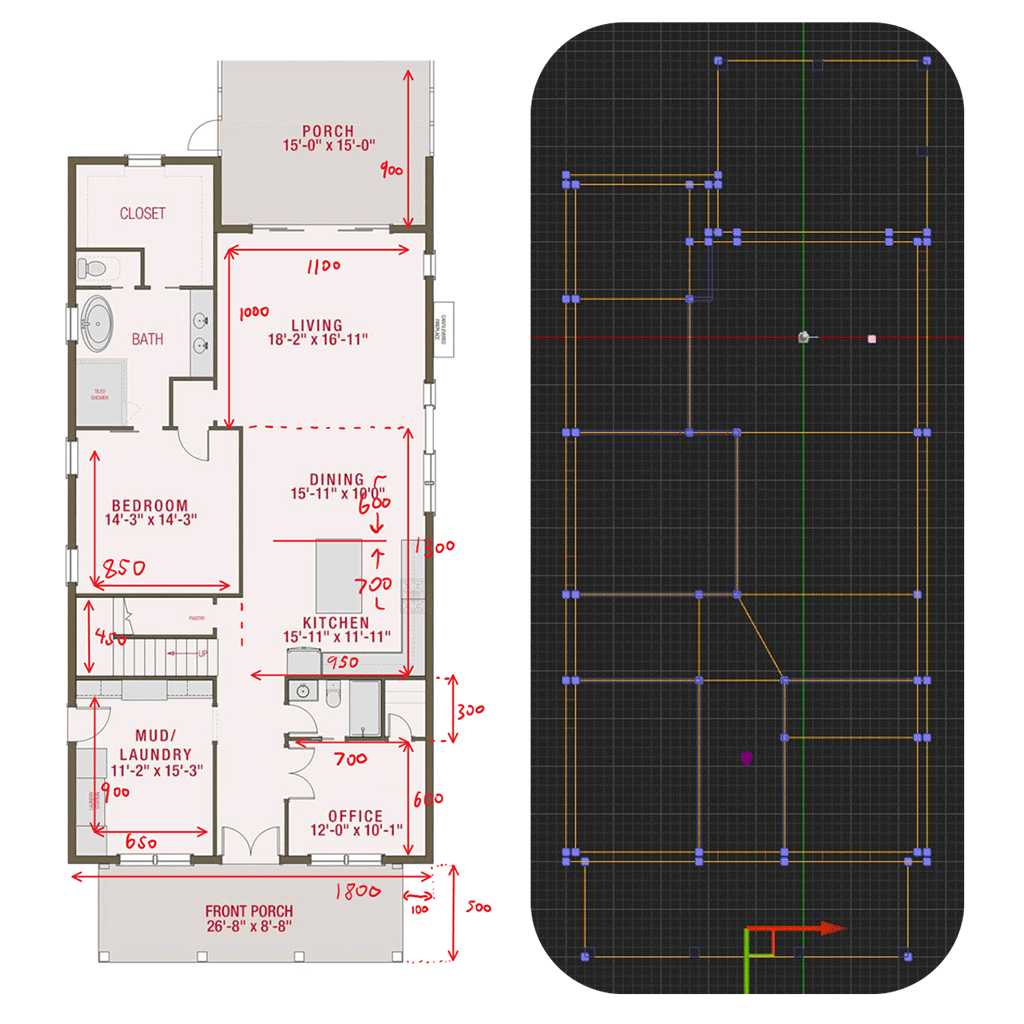
Notice how all brushes align perfectly with the 50-grid.
Not only do proper alignments make a map clean and easier to work with, but they also allow me to ensure that there is no overlap between any adjacent geometries. This probably isn't necessary for Unreal but, as mentioned in my CGT245 homepage, I learned this practice when working with Hammer editor for Source where overlapping map geometry would break physics simulational mechanics, including bullet's wall penetration machinic in Counter-Strike titles or cannon ricochet in HL2.
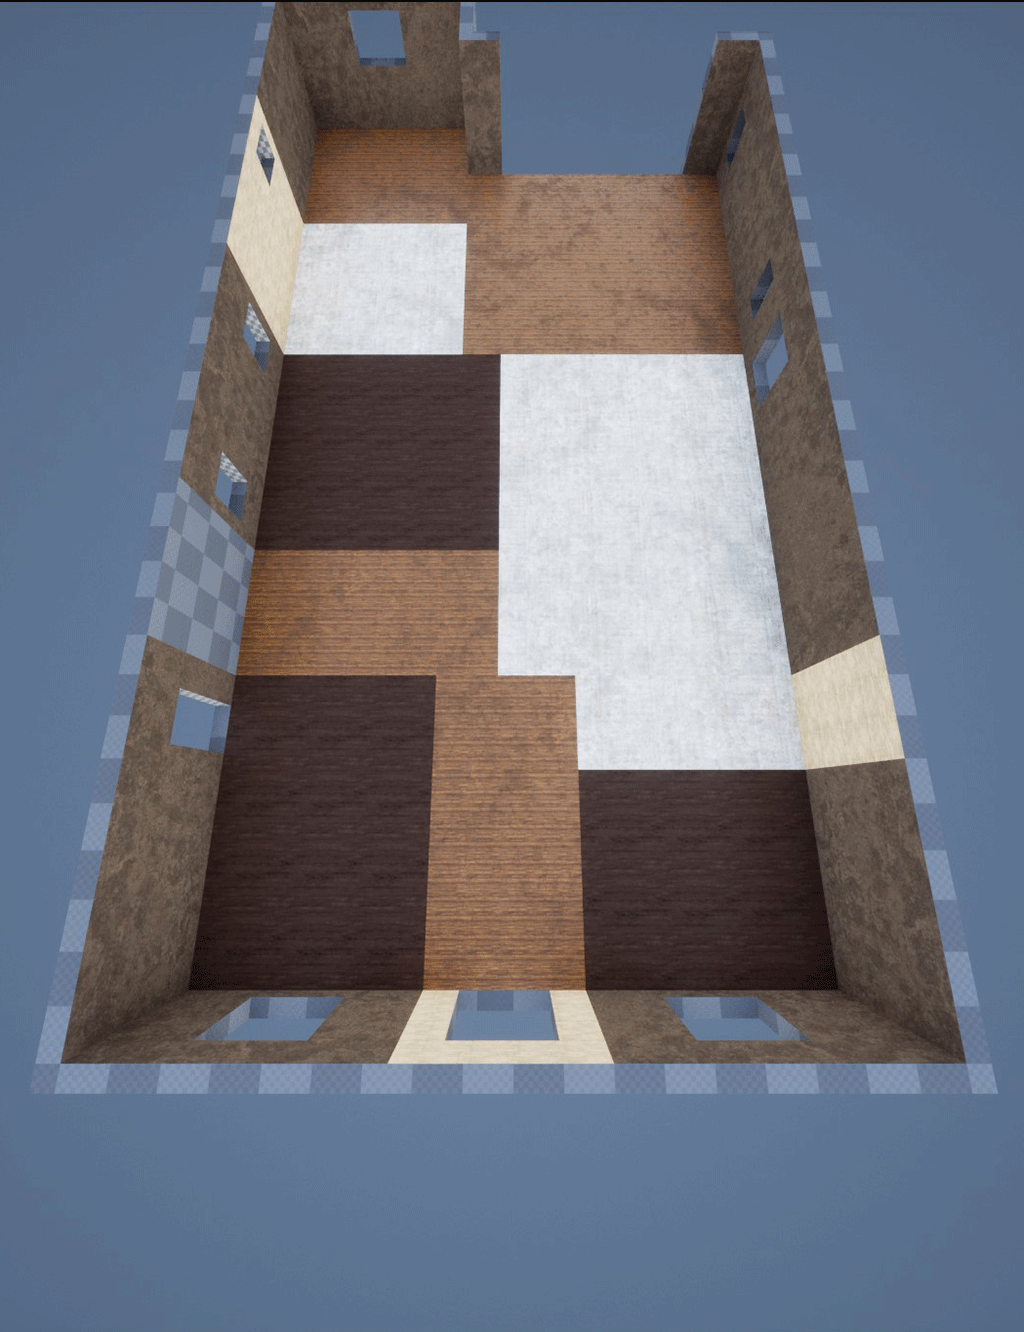
With the floor separated into sections and each section corresponding to a marked zone in the floor plan, I can apply some random temporary textures to the rooms that visually outline each room so I do not get confused or disoriented when modeling. This method, compared to directly applying the floor plan image as a texture on the floor, has the added benefit of making future retexturing simpler.
Also that I'm not clever enough to figure out how to texture the floor without breaking the image's aspect ratio :(
Took so much effort to program this cool transition below --v
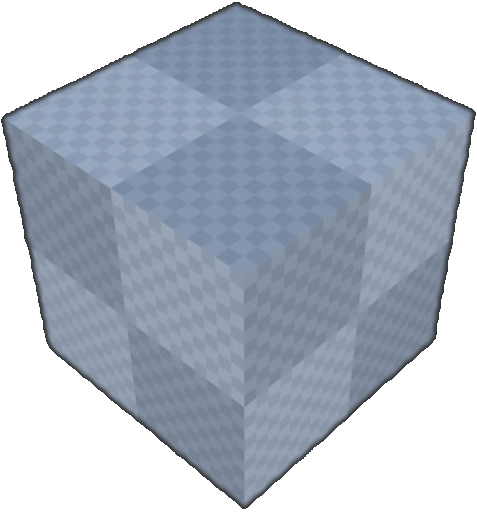
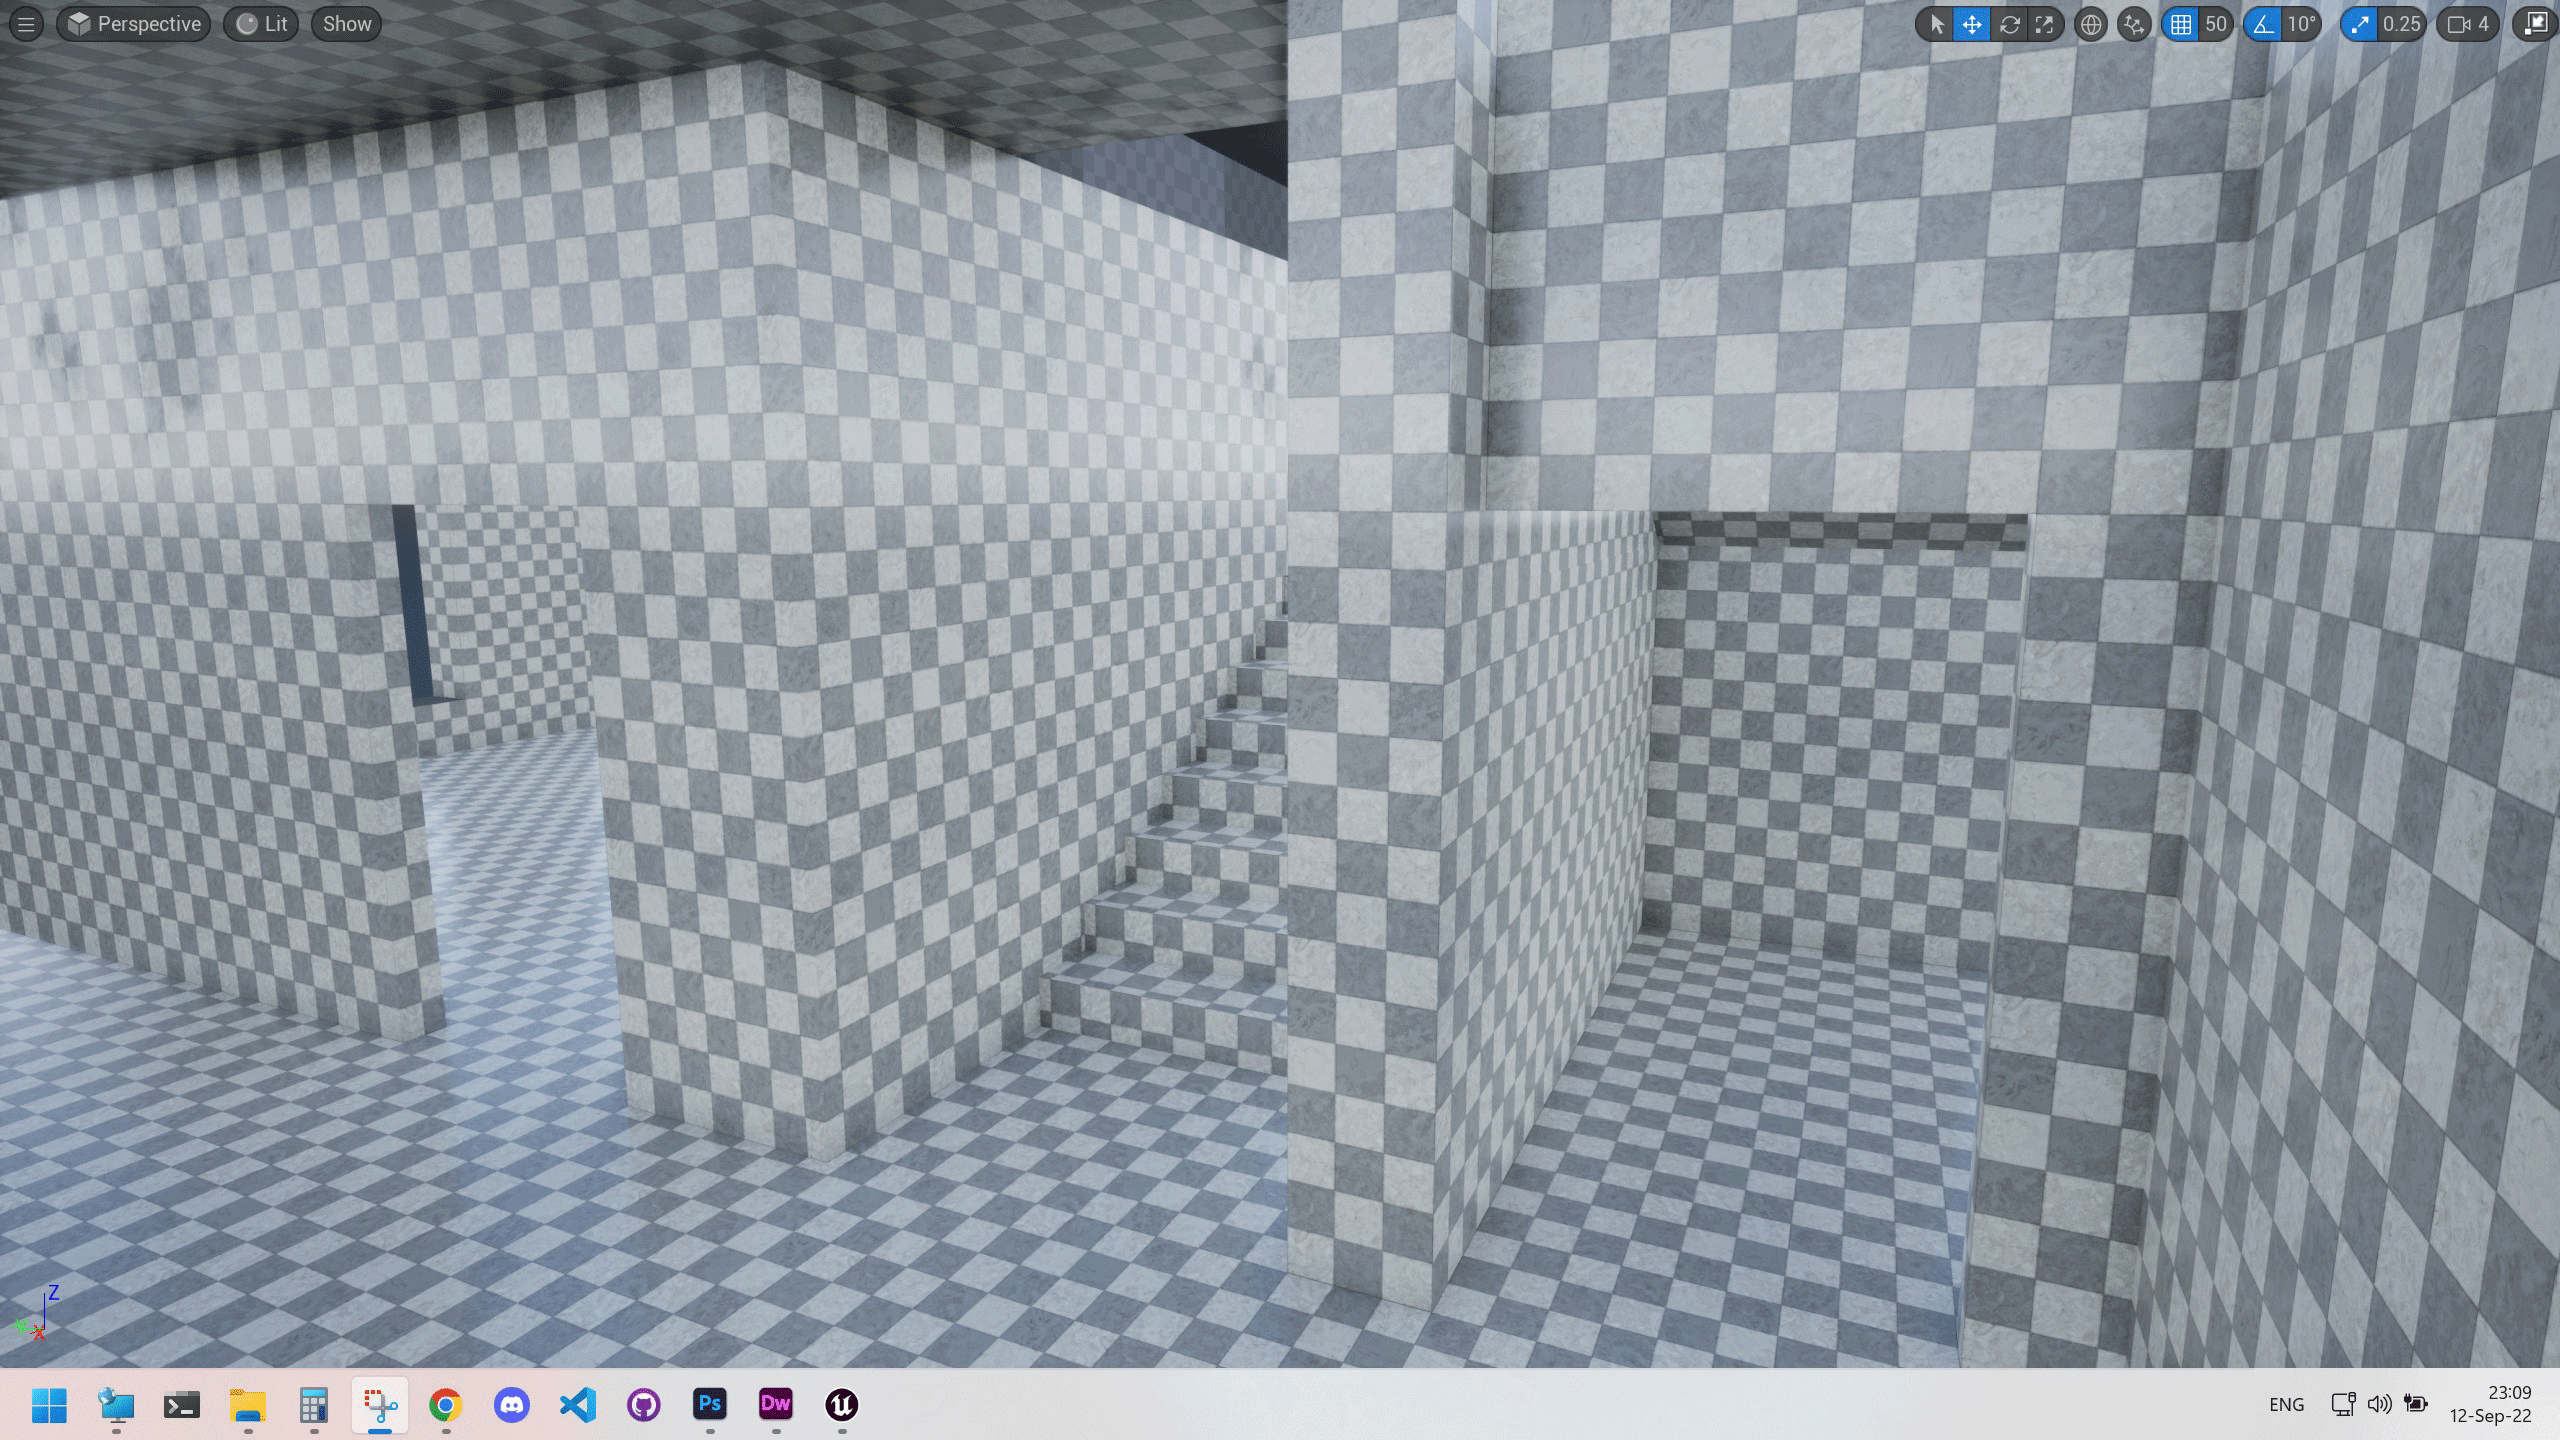
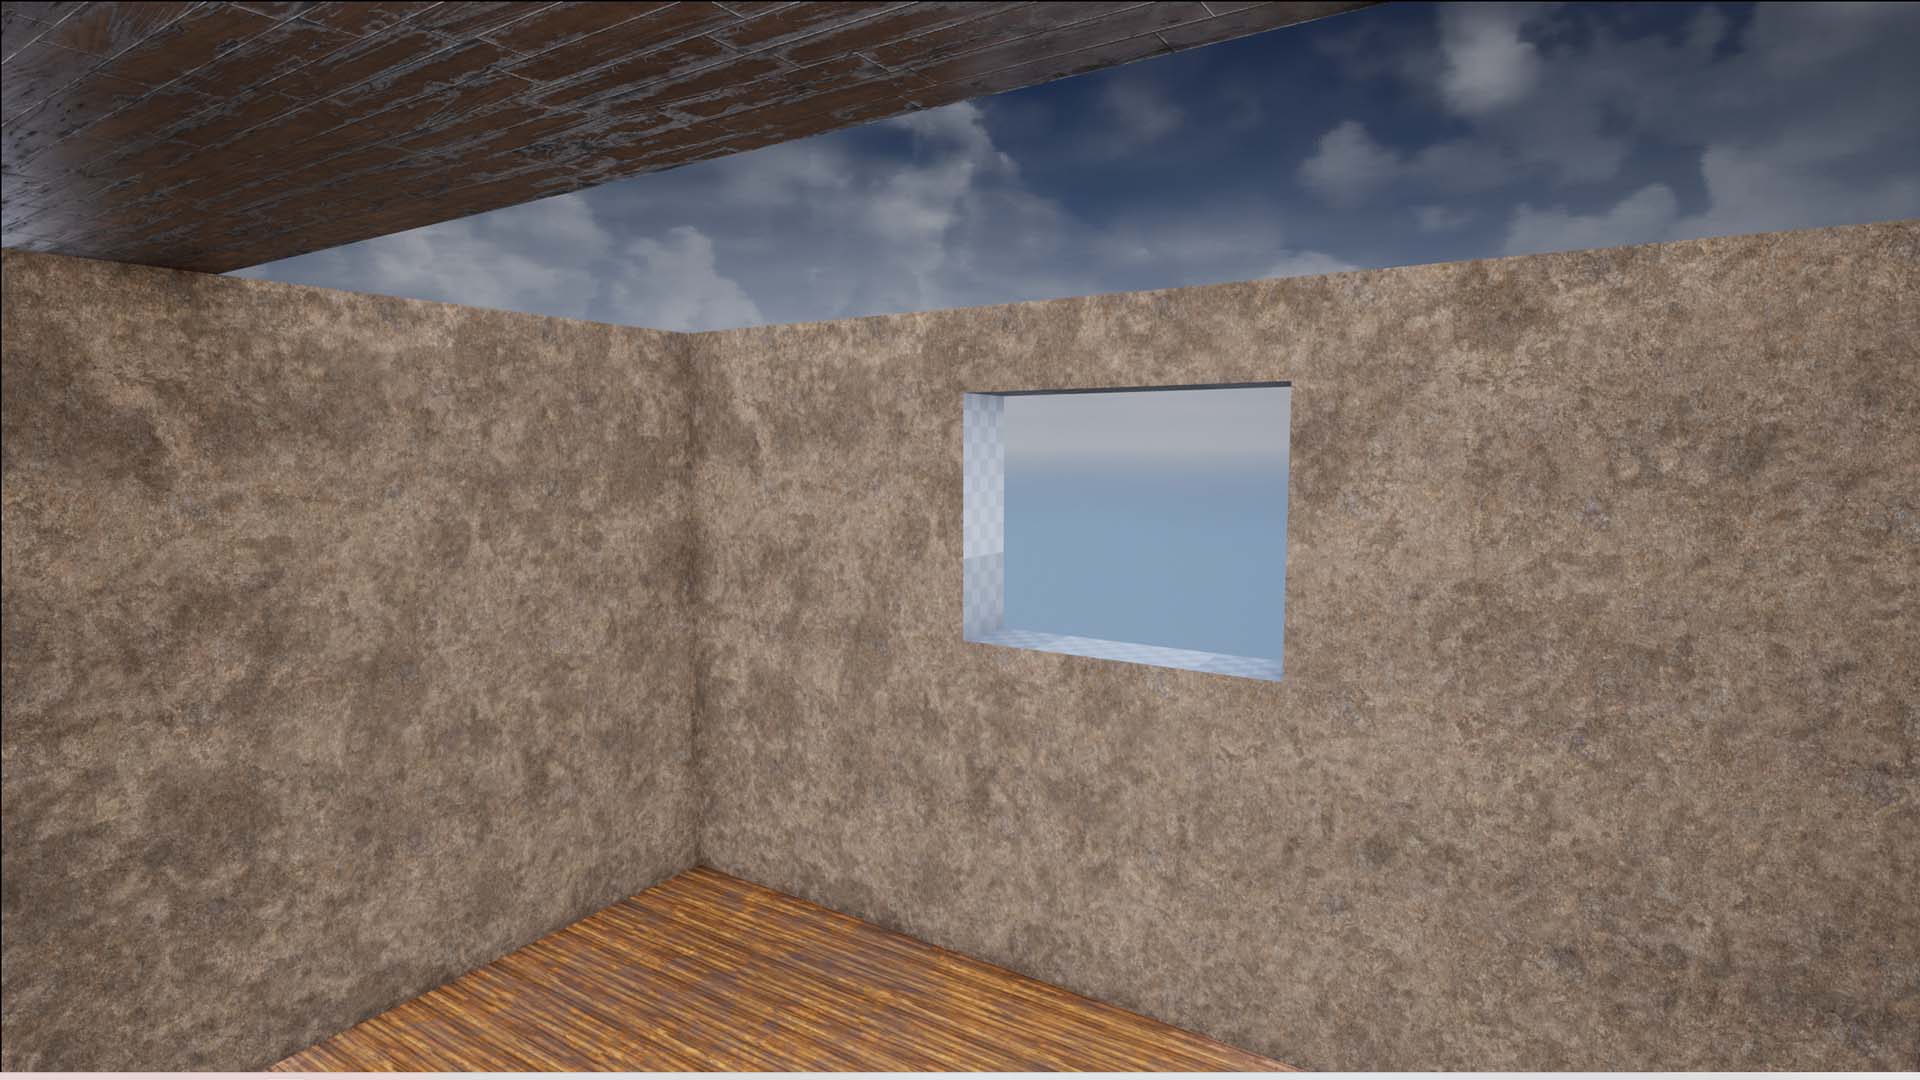
It feels wrong when the "Graybox" level isn't gray anymore, so I made a separate version where every surface automatically gets textured by a gray checker pattern.
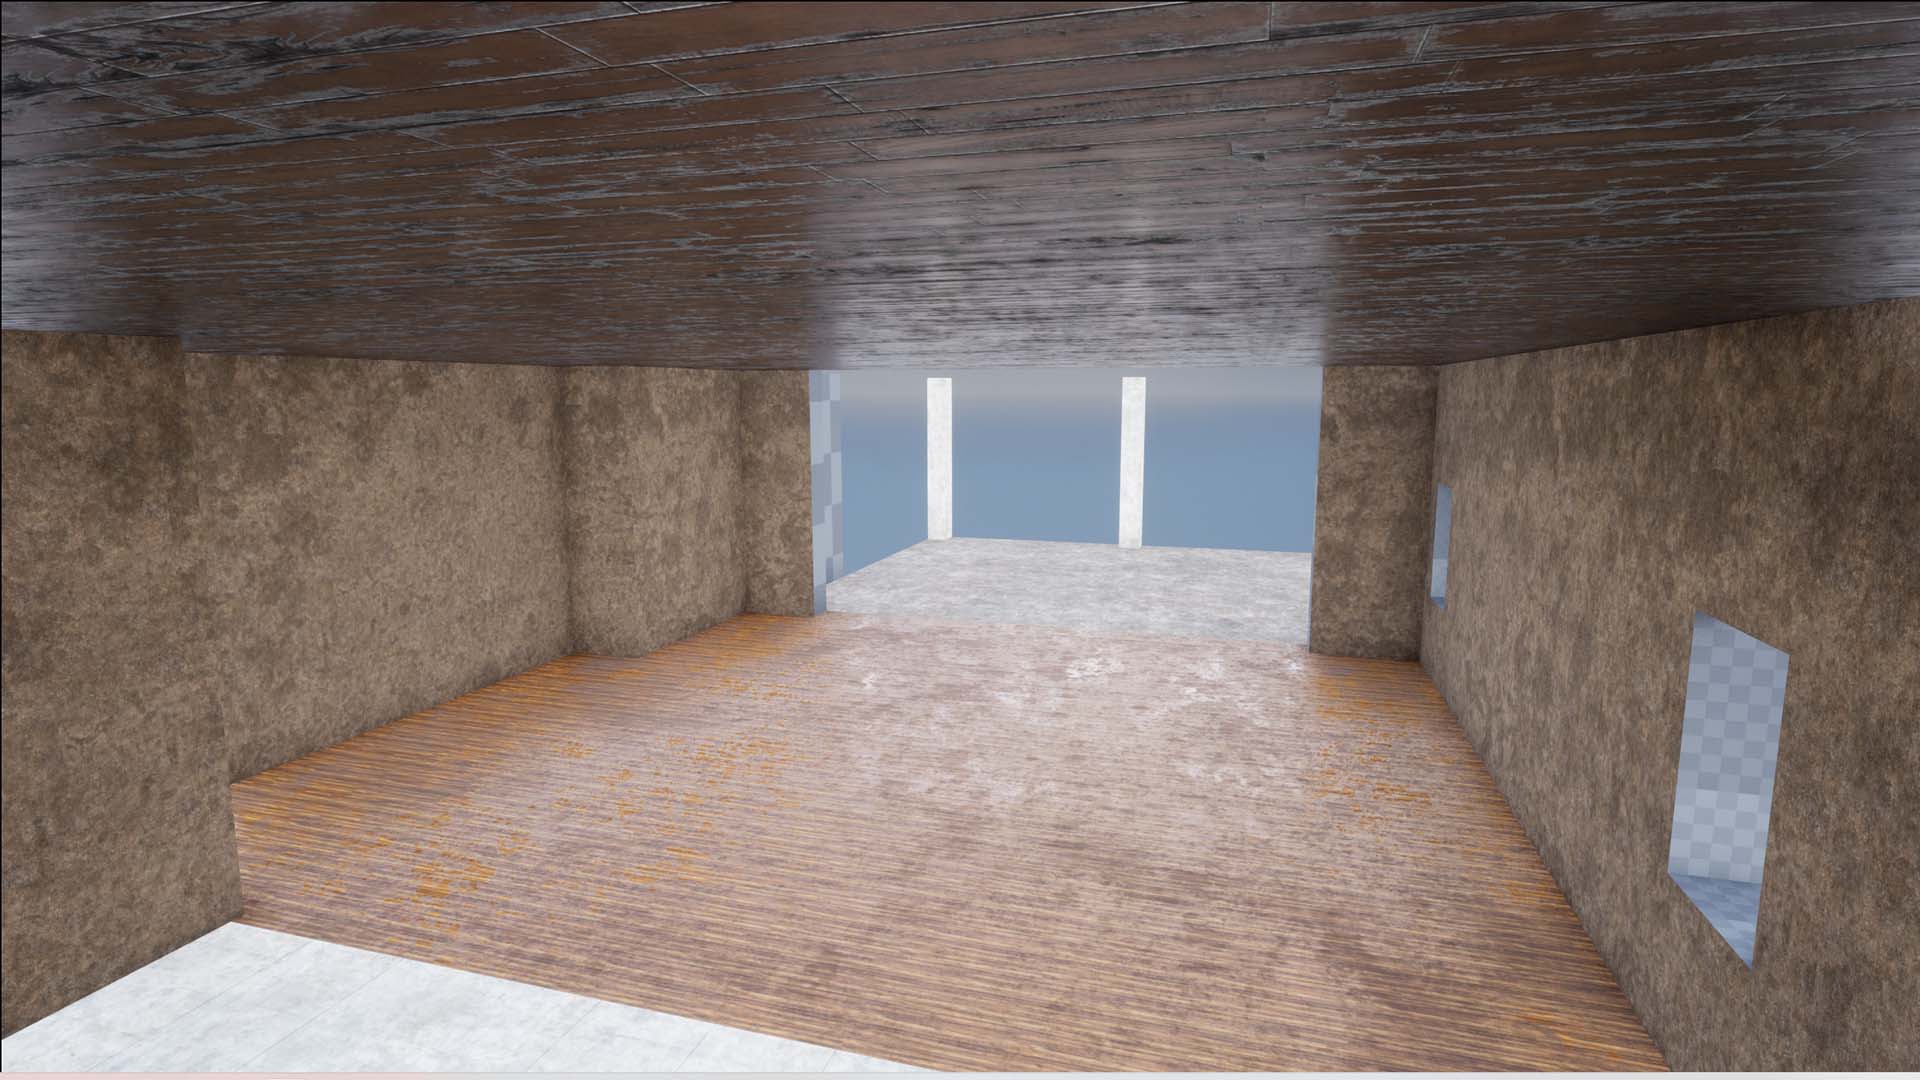
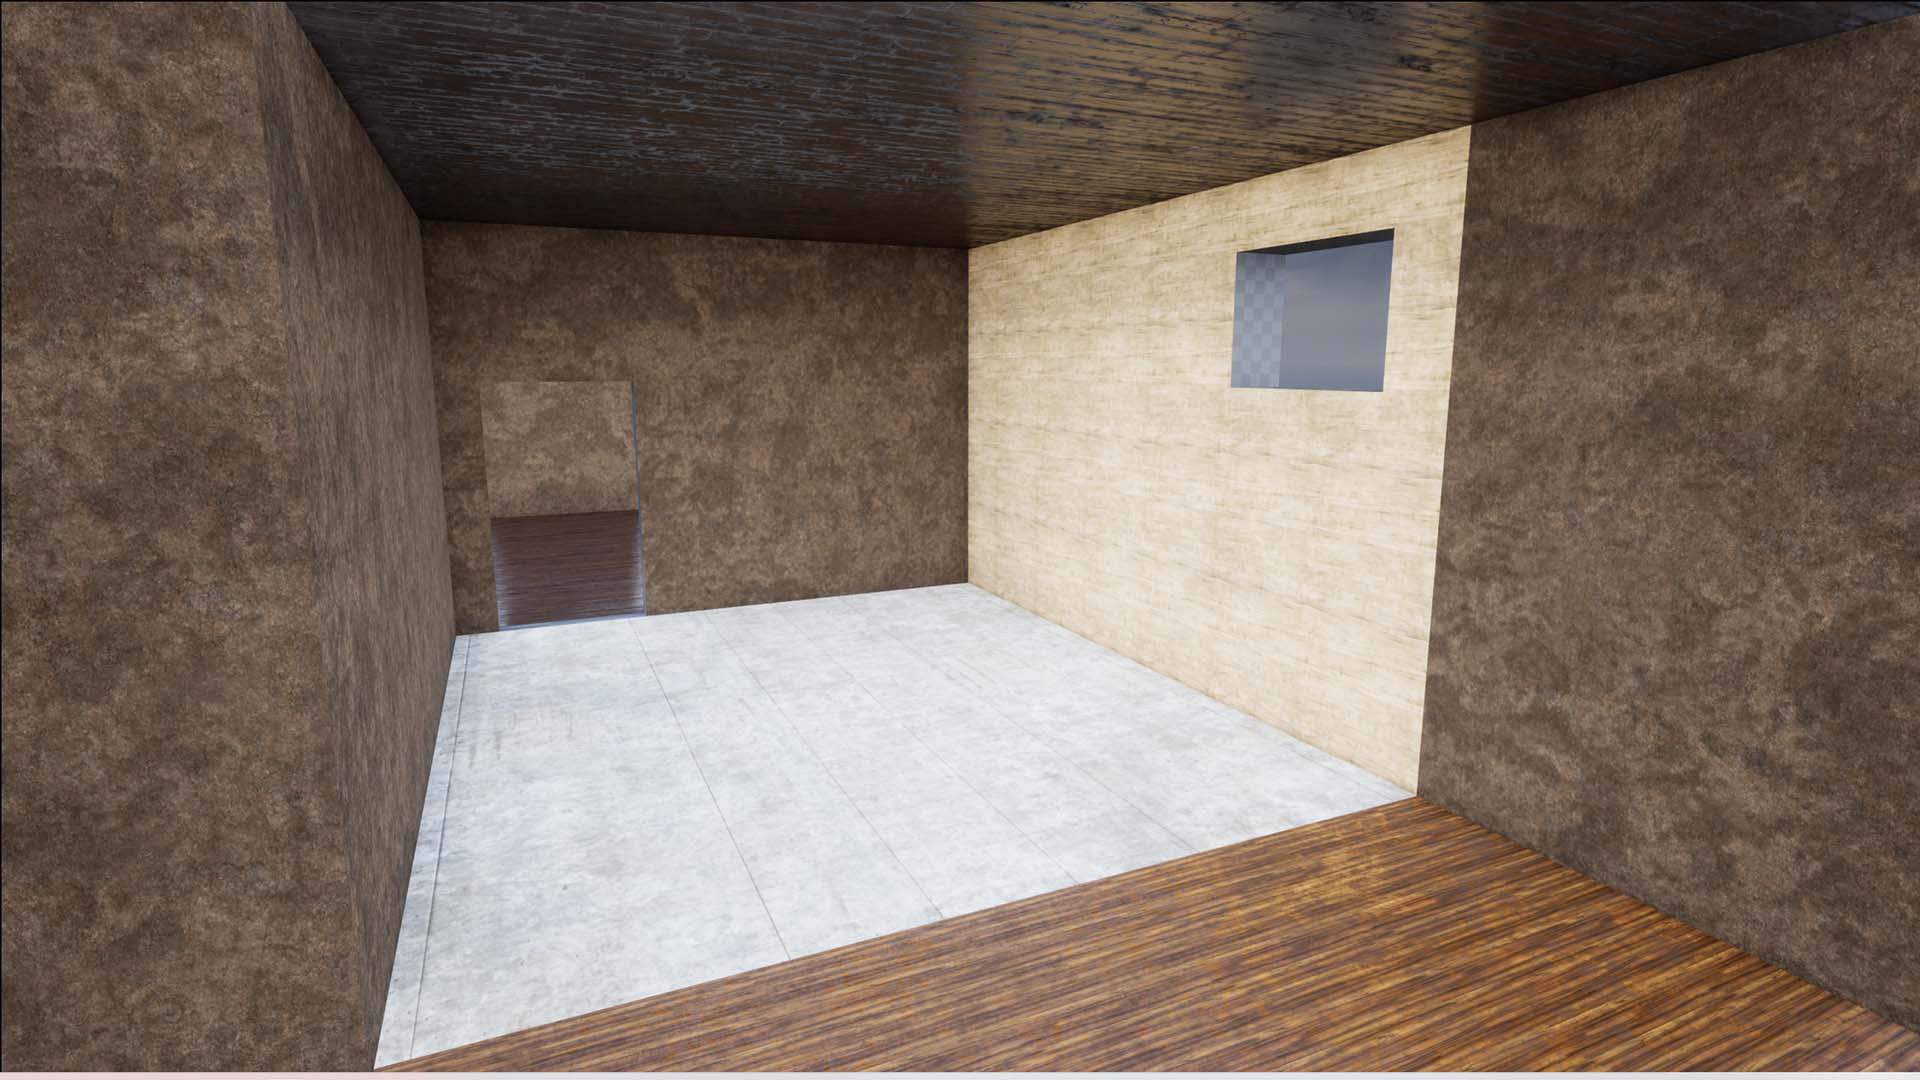
Gallery
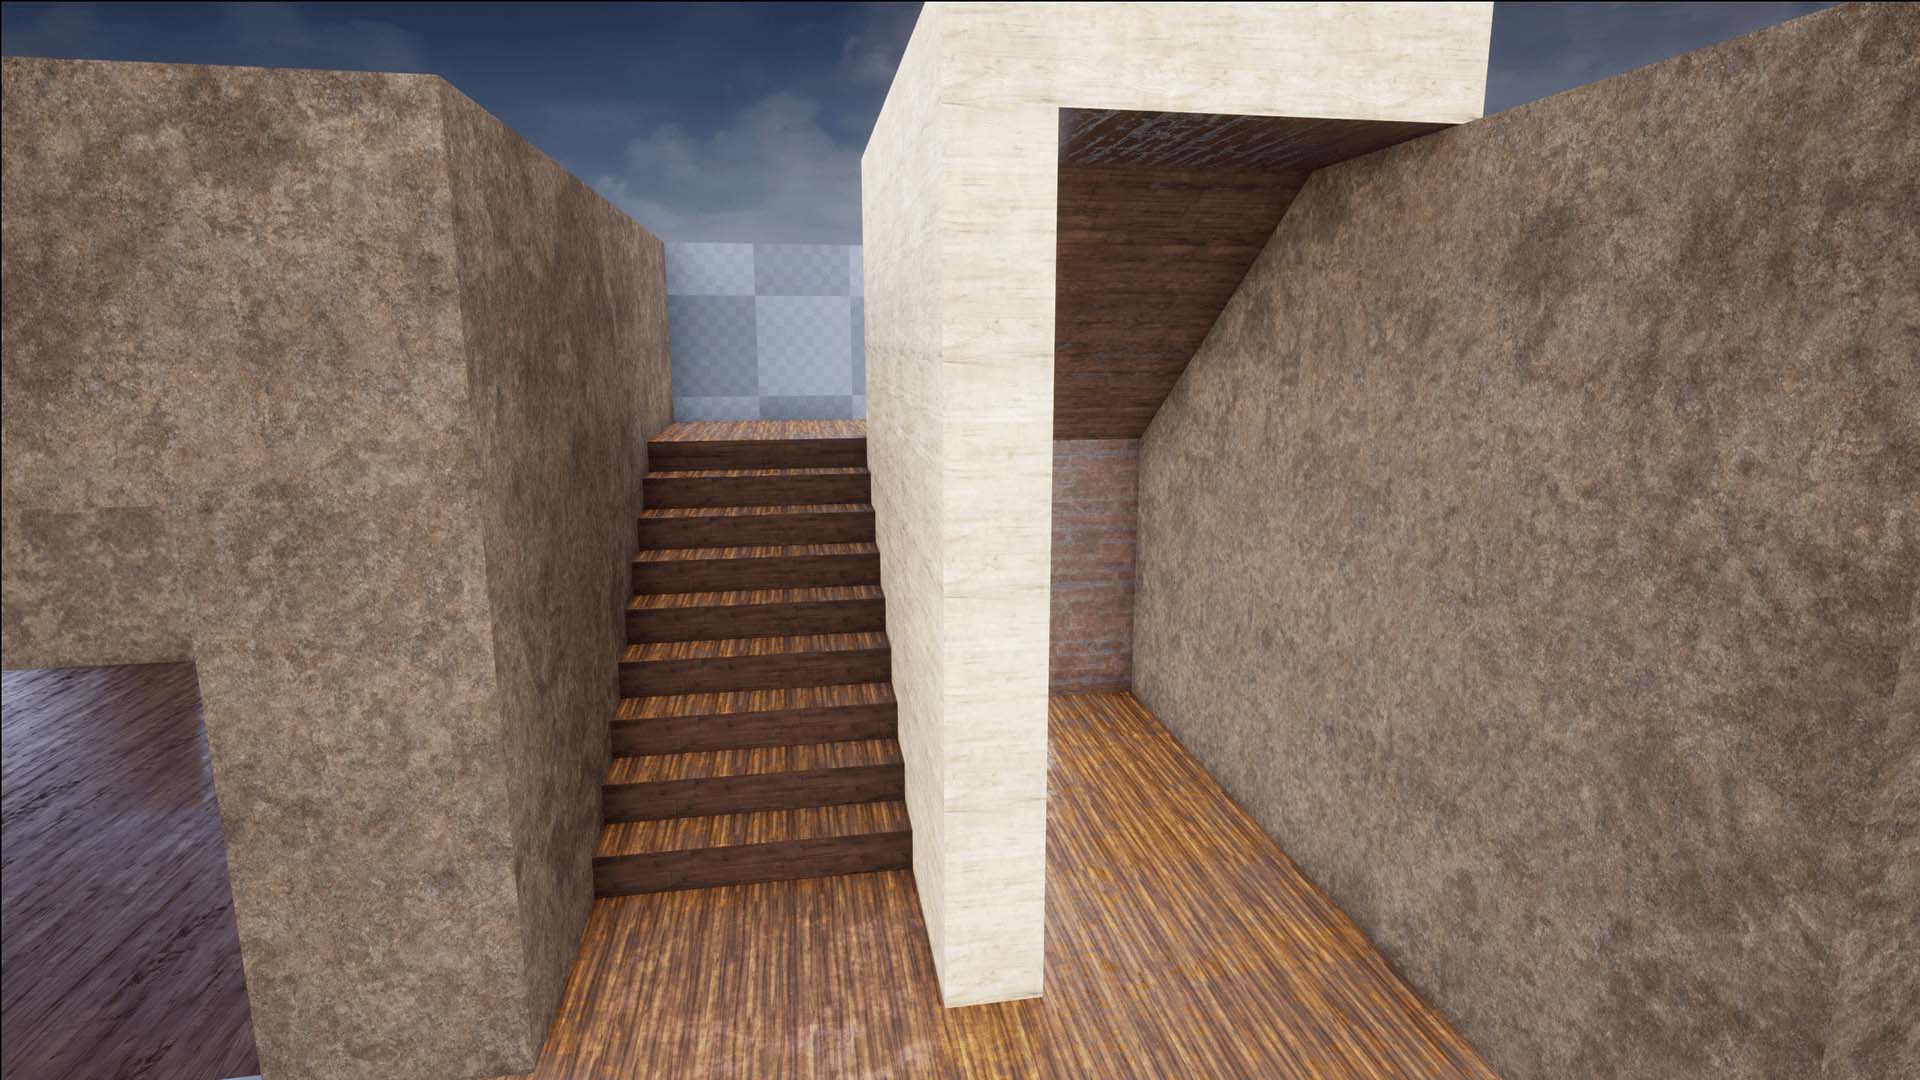
1F Stairs
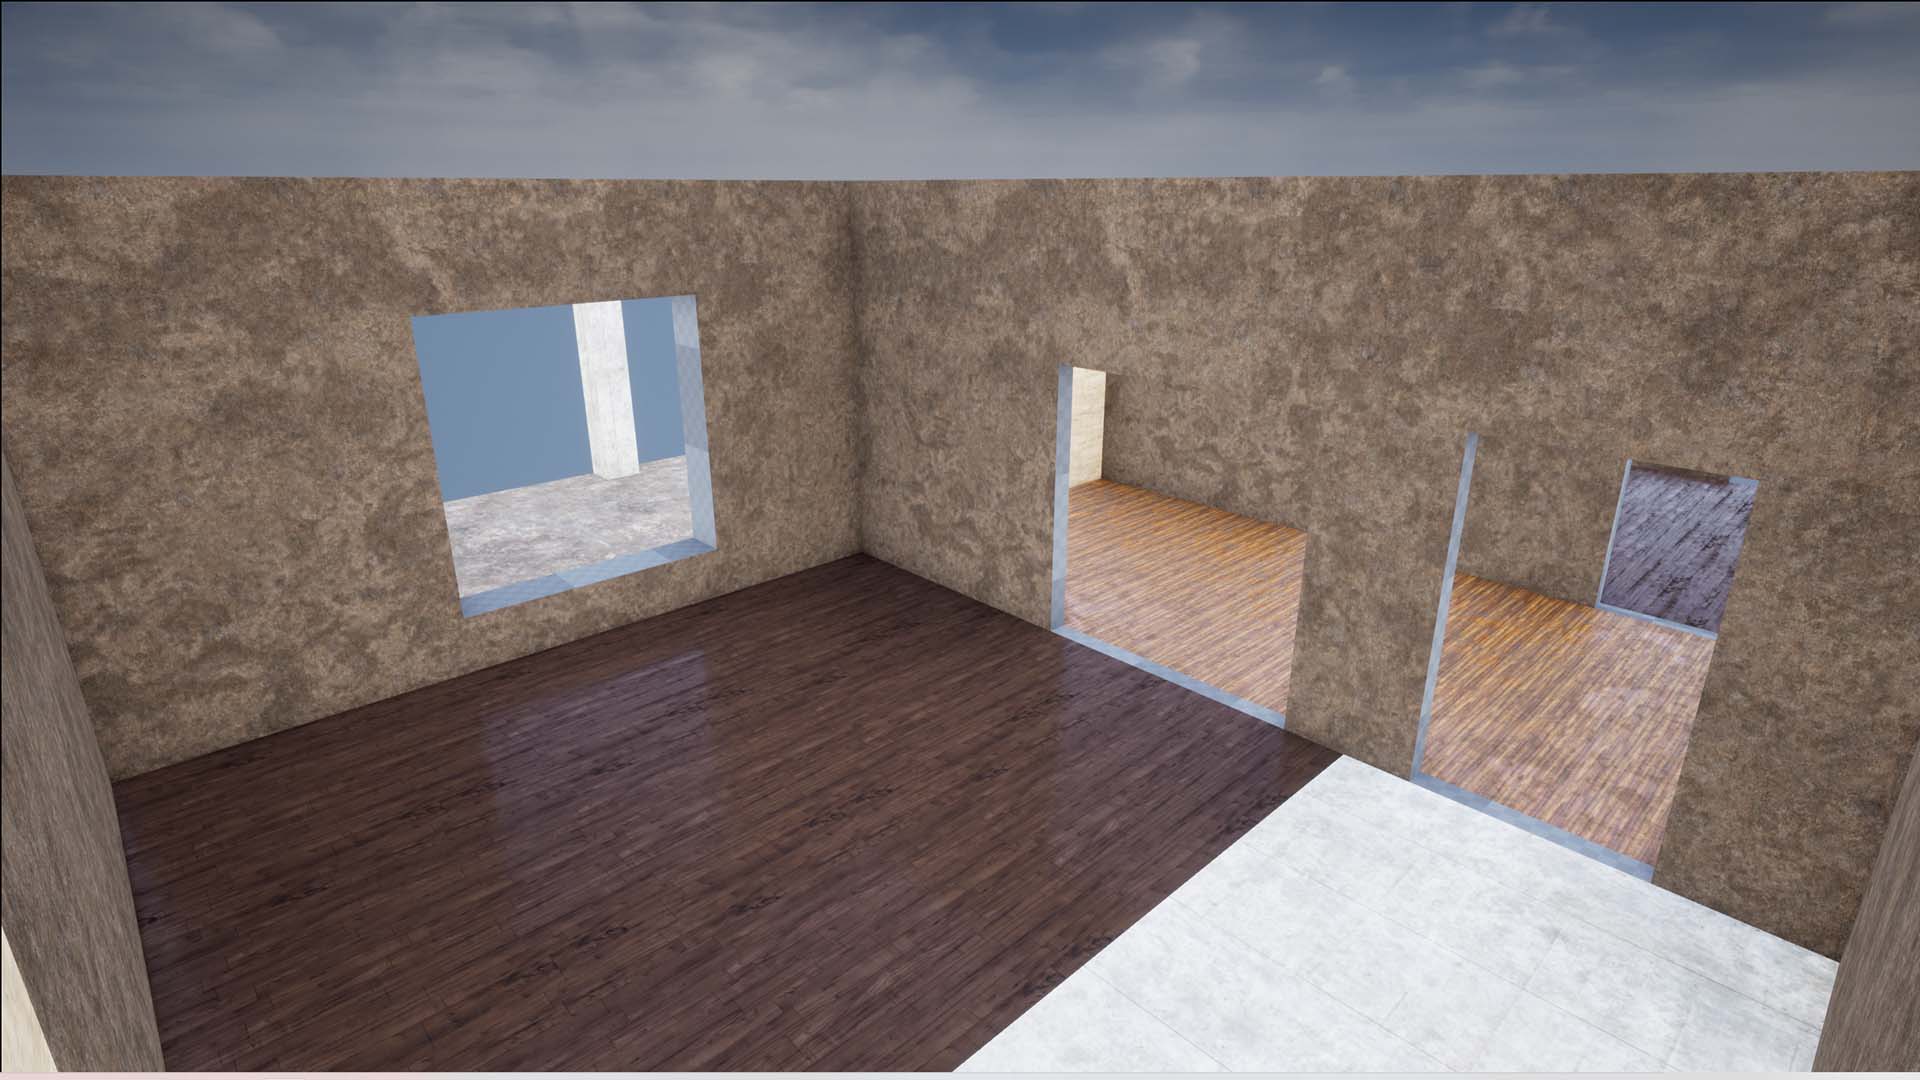
1F Office
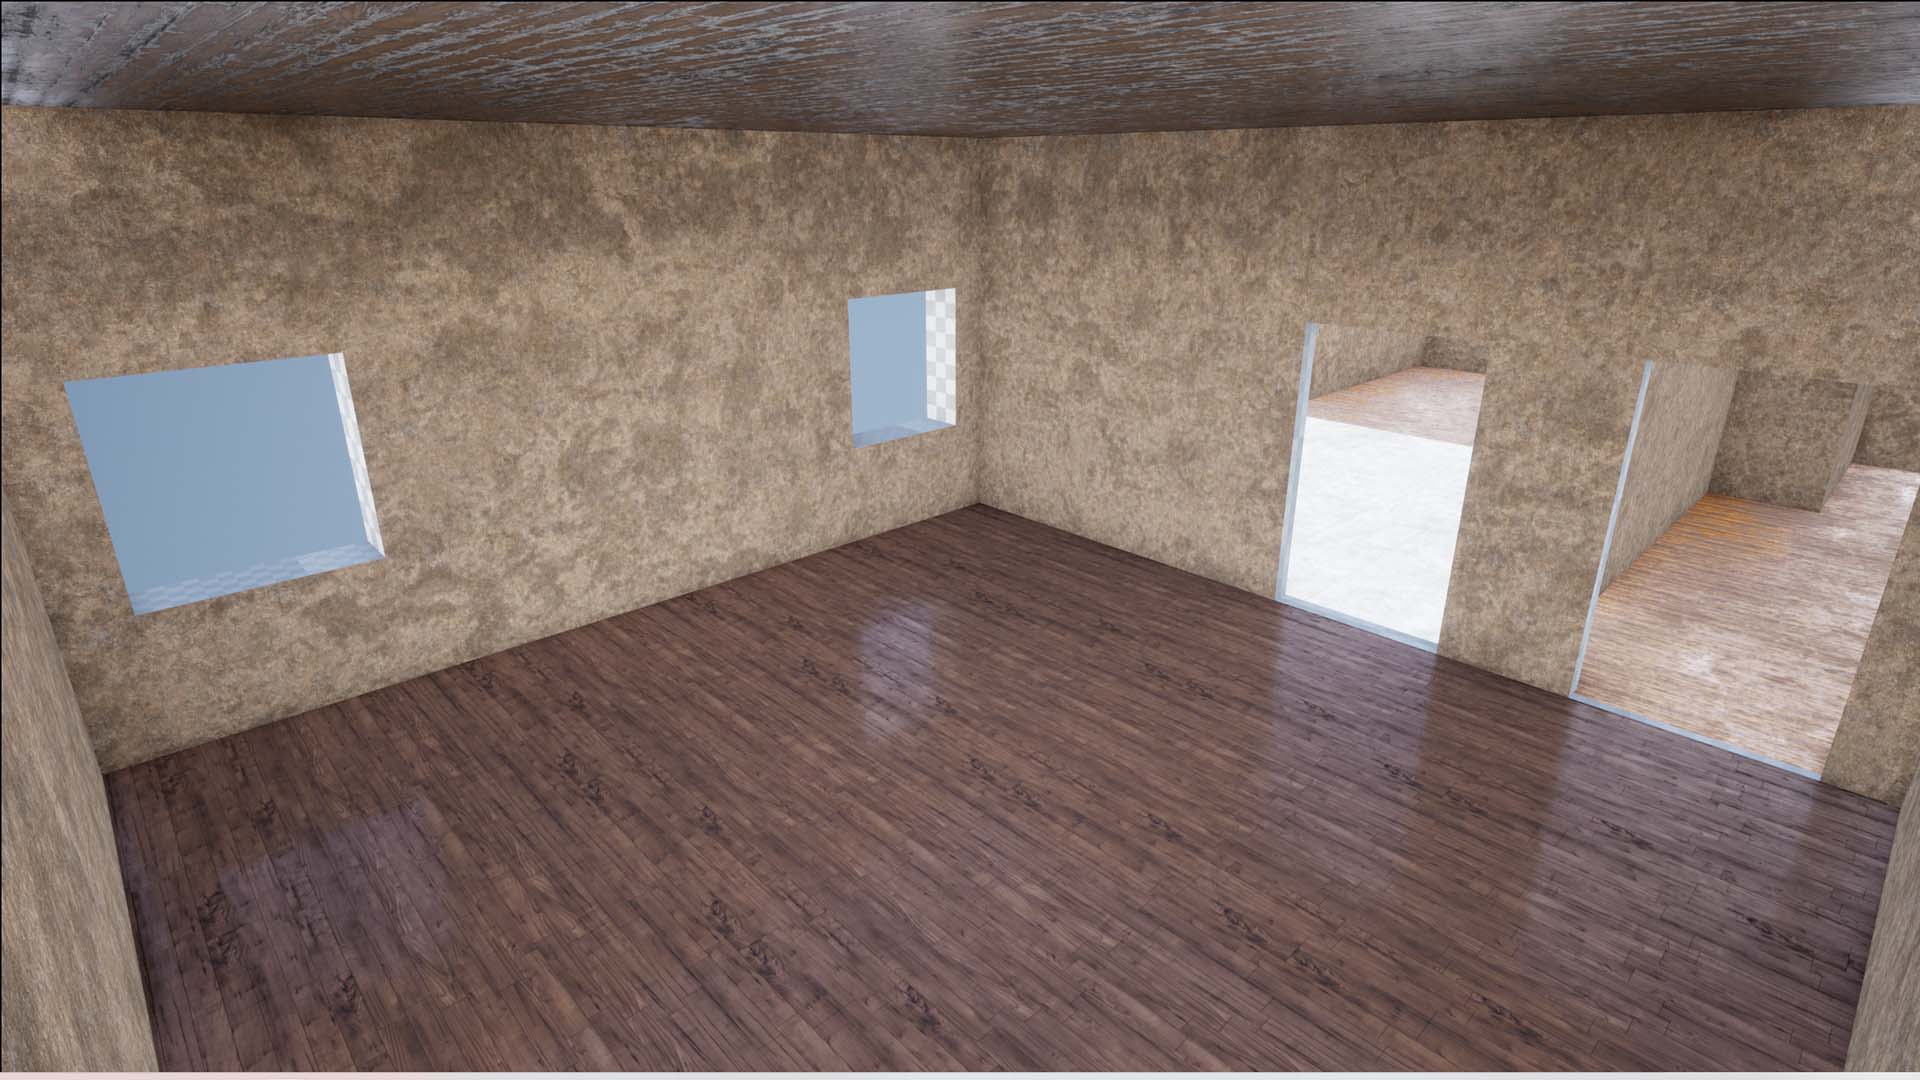
1F Bedroom
1F Living
1F Bath
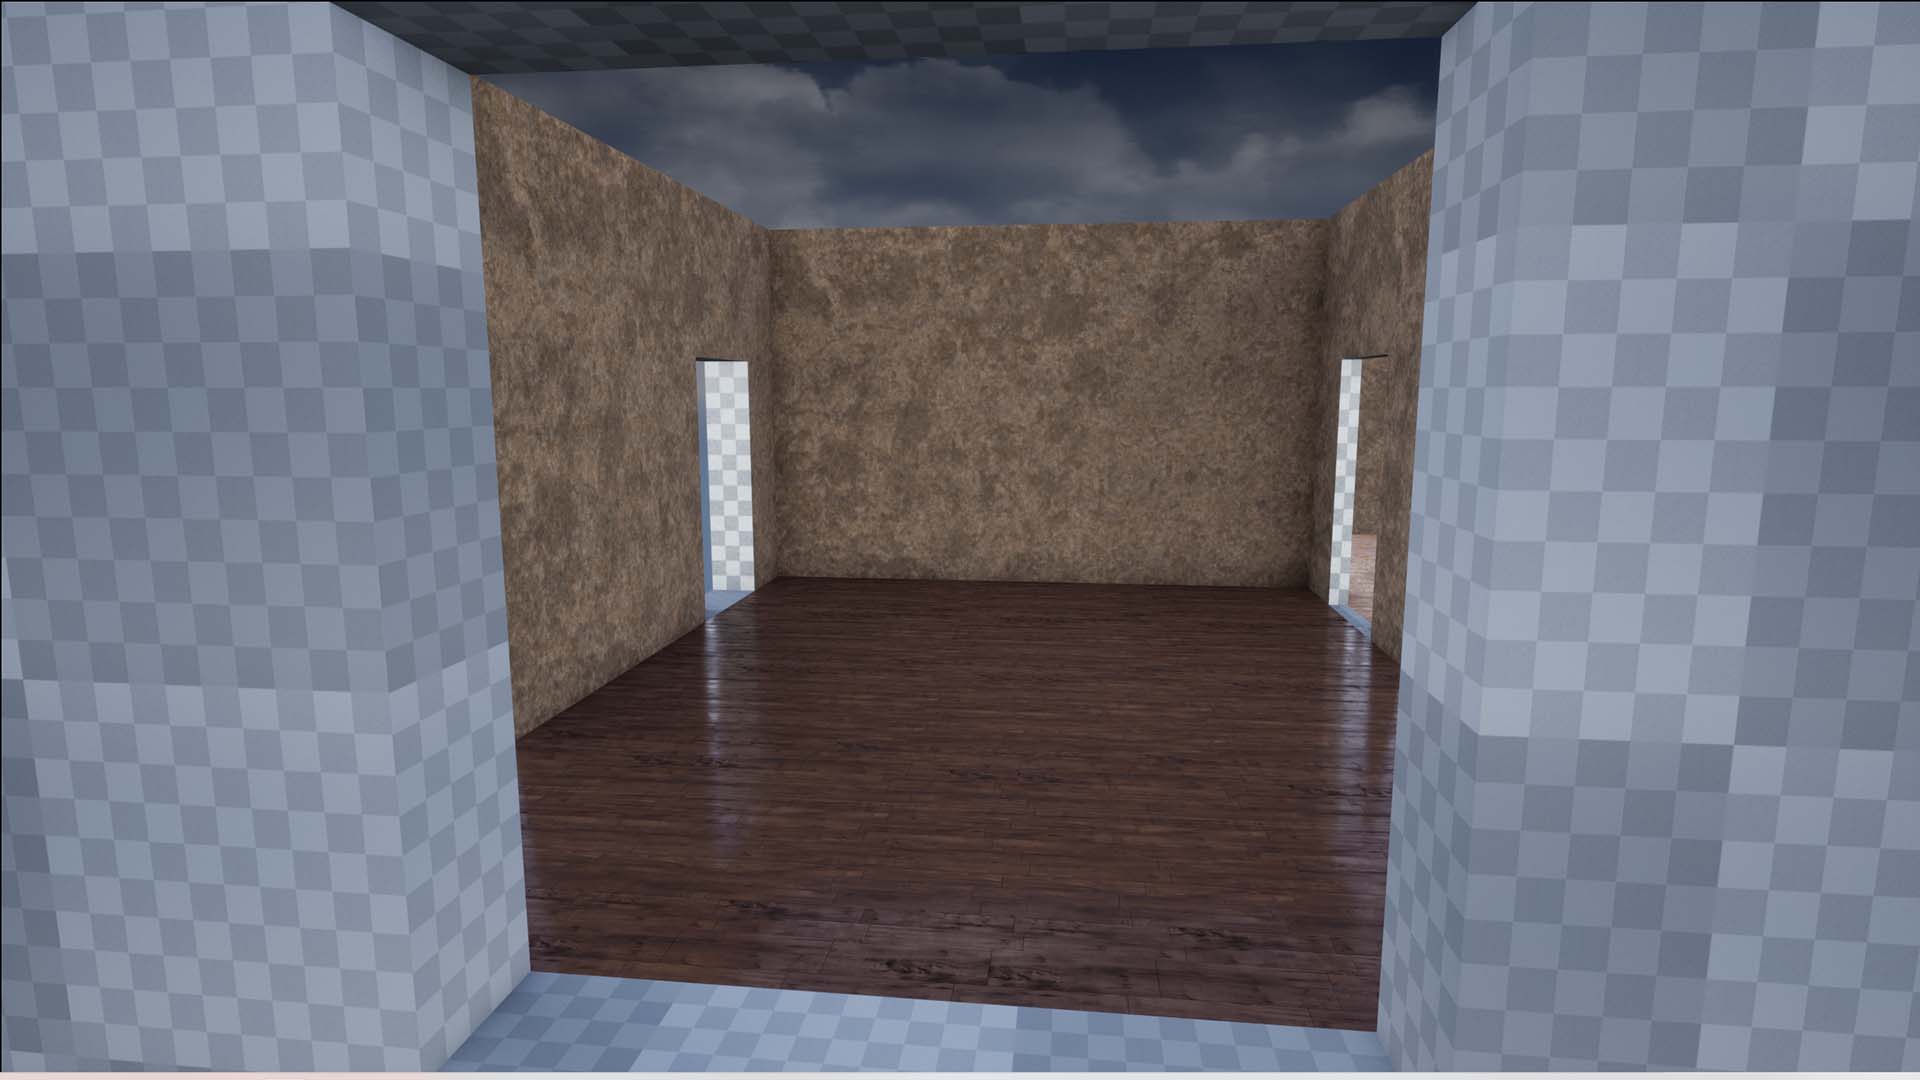
1F Laundry
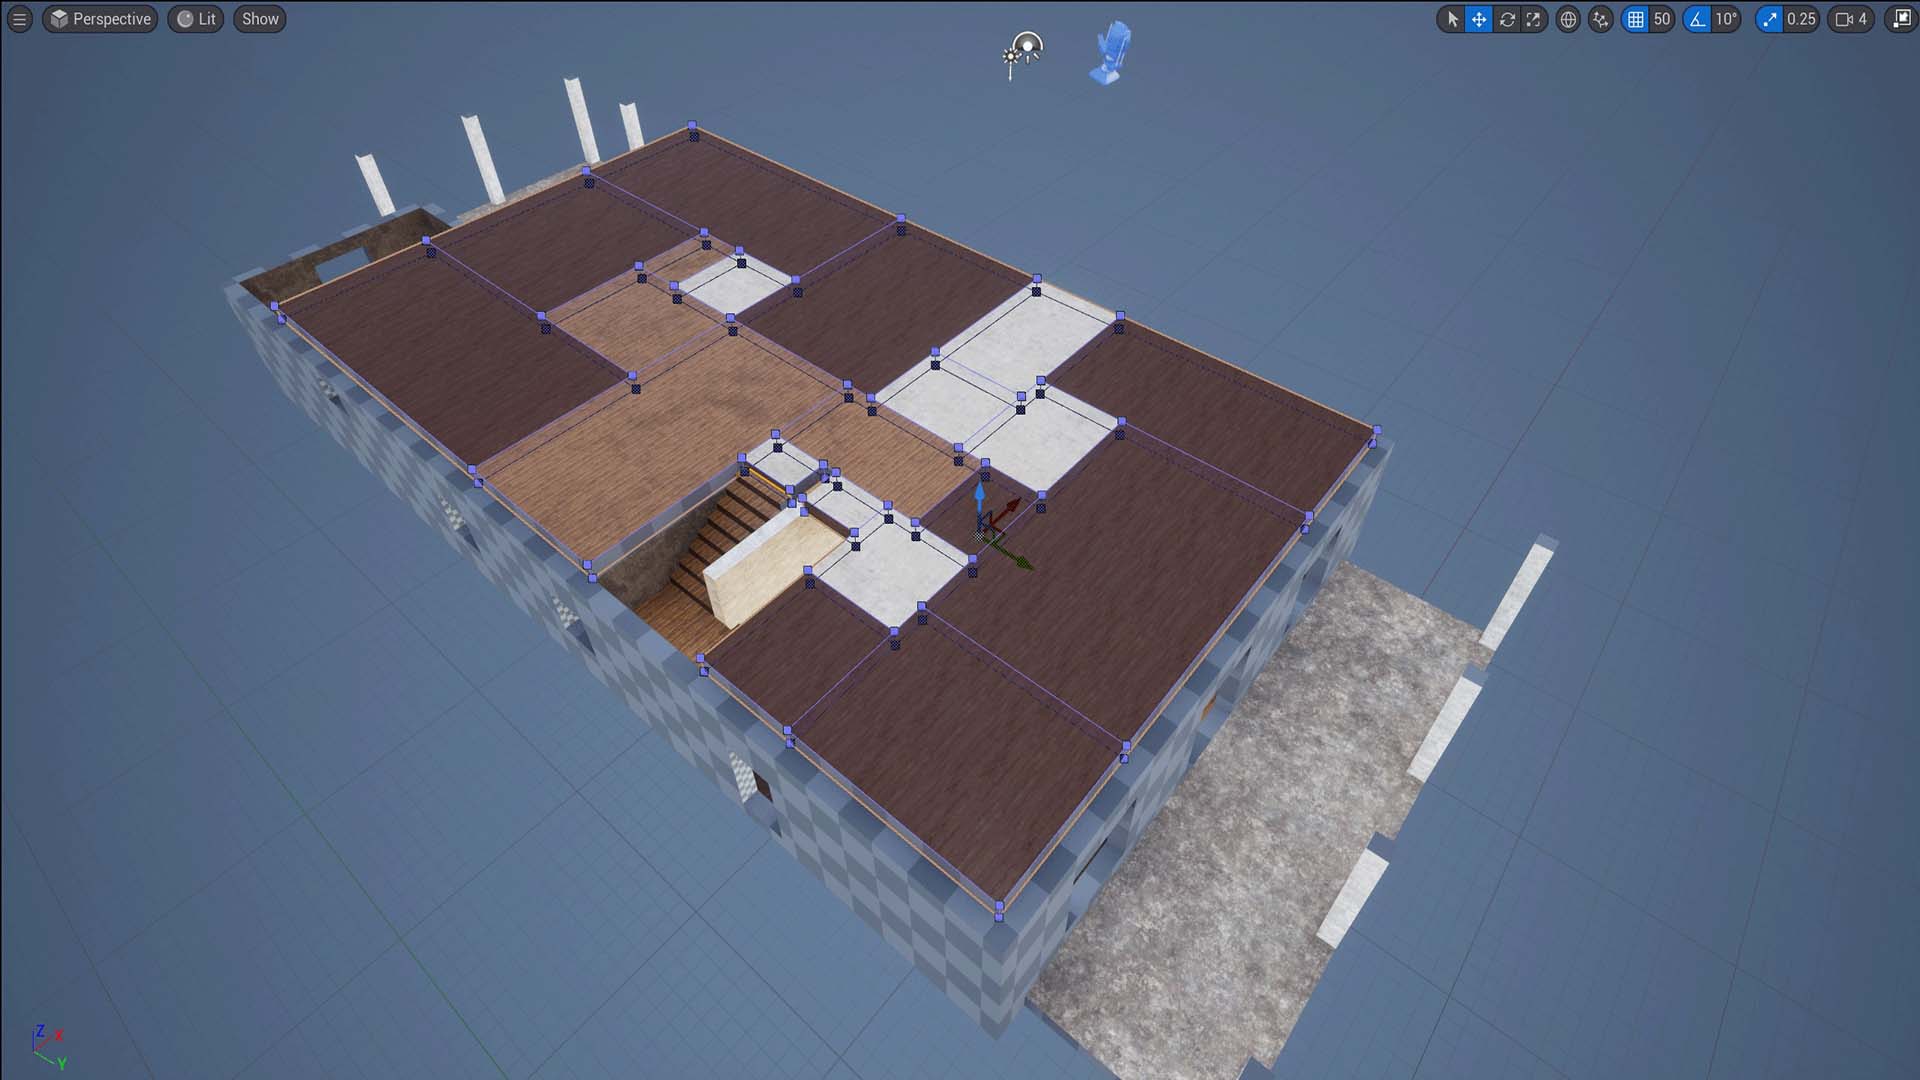
2F Overall Layout
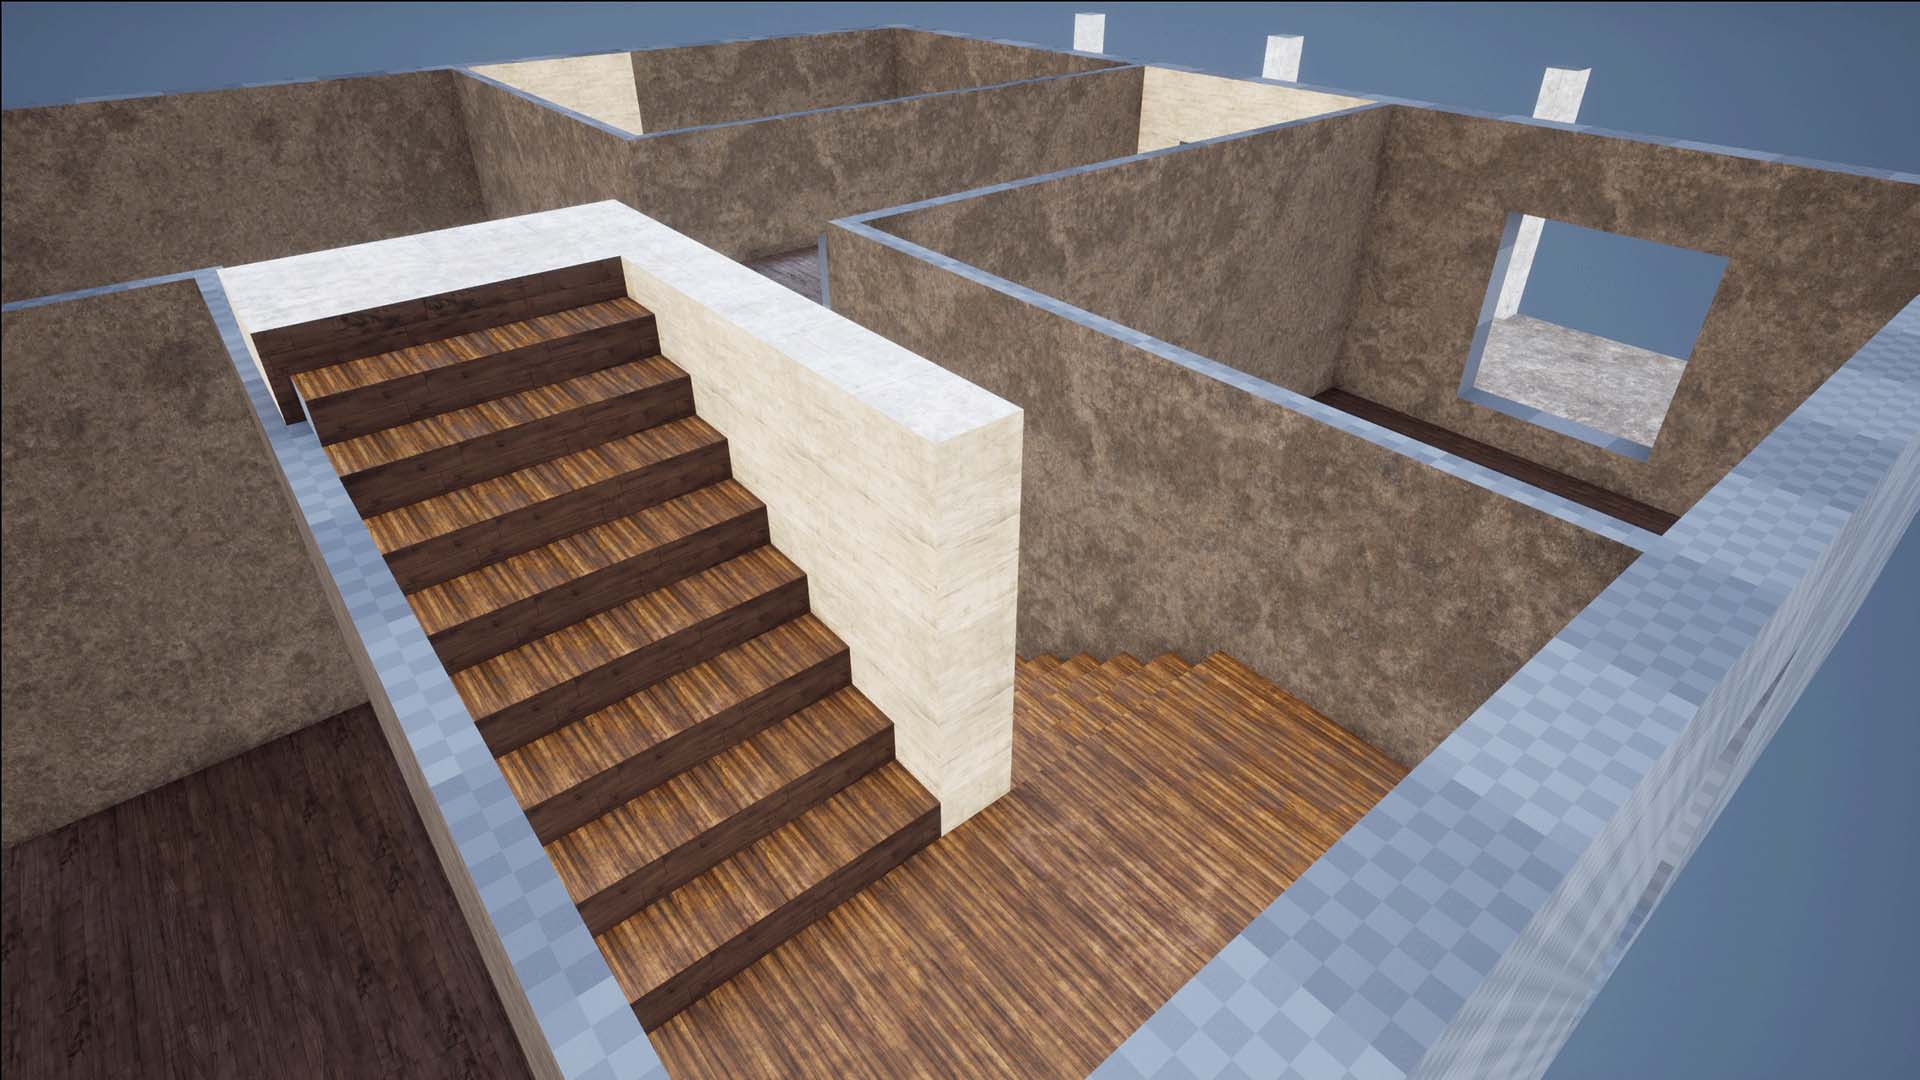
2F Stairs
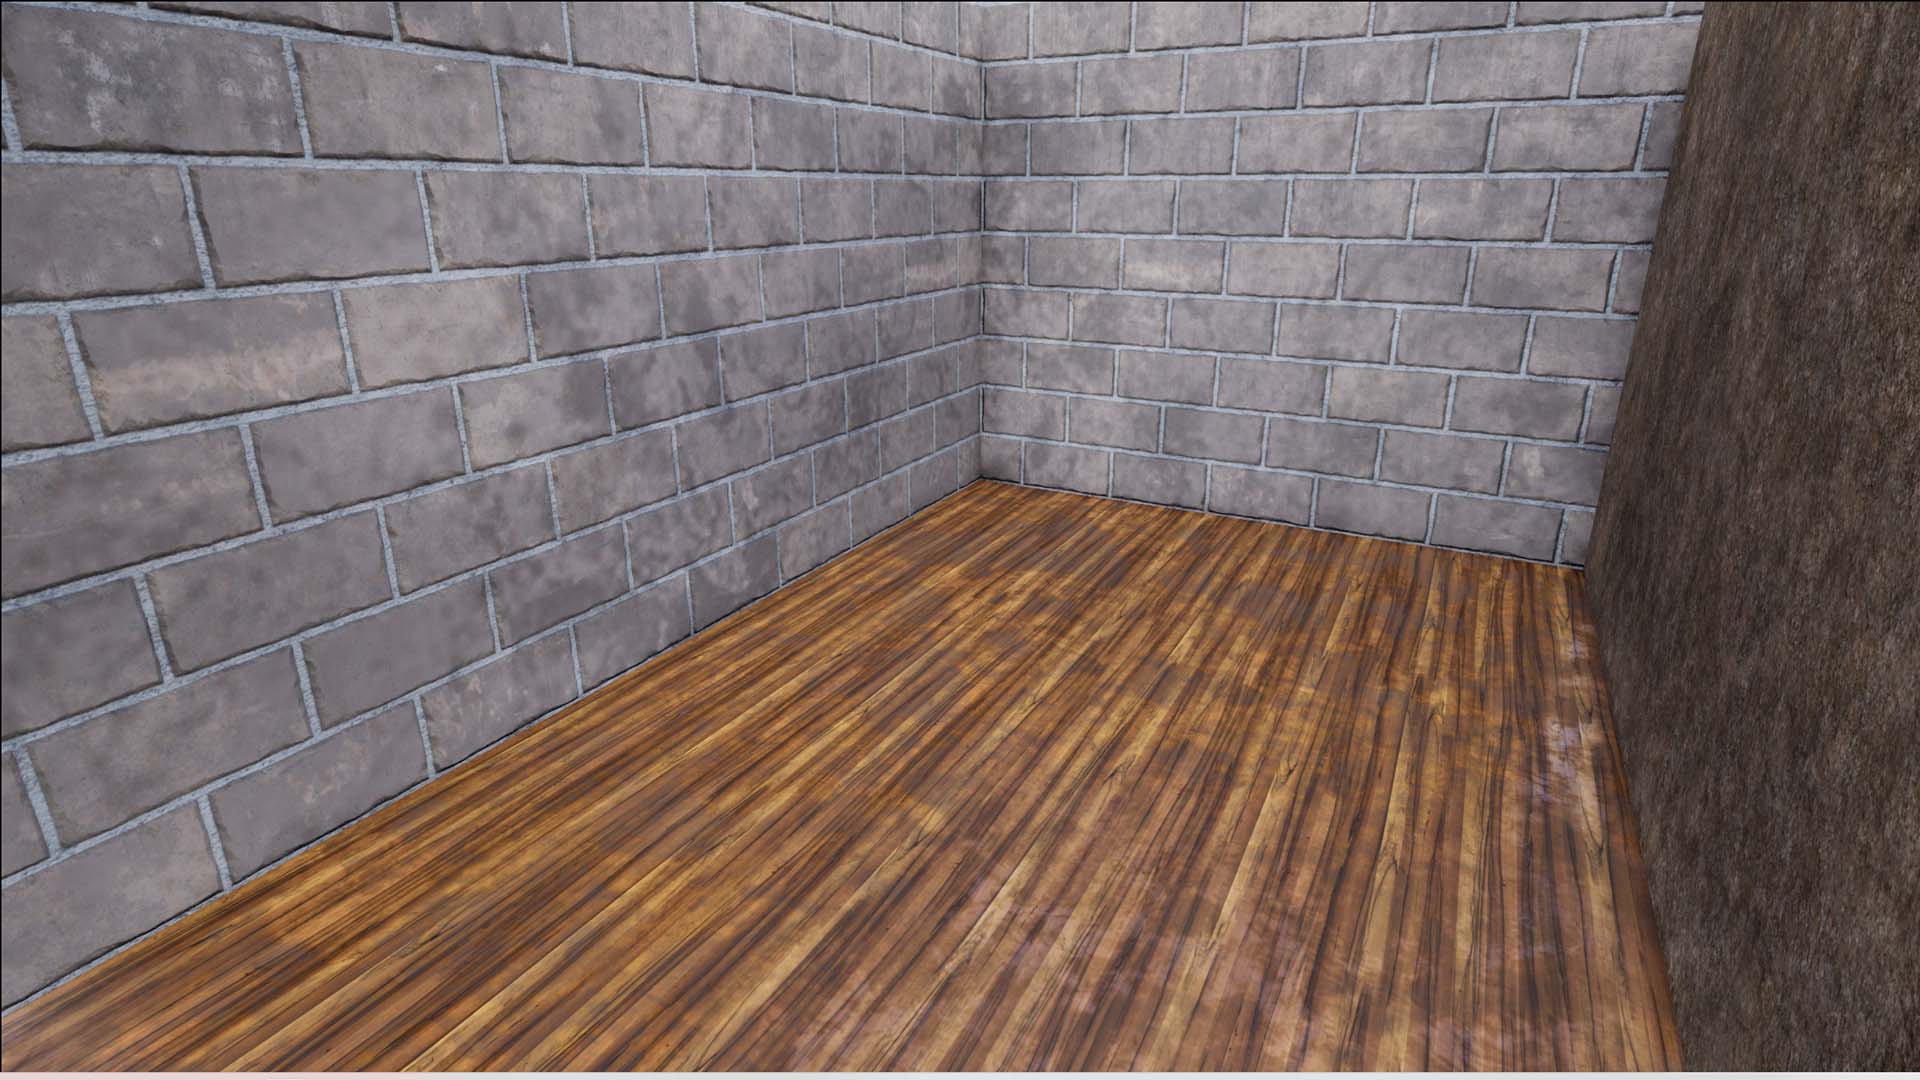
2F Utility
2F Attic
Contact Me
Yake Wang | 400 McCutcheon Drive, Room 175, West Lafayette, IN, USA
Email (personal): me@yake.wang
Email (school): zackwang@purdue.edu
Cell: +1 (508) 826-6534